When planning parties it is important to develop a theme (colors, objects, etc.) For this shower, the theme was Gerber Daisies. We had daisy plates, napkins, and accessories. Take a look below for all of the goodies. Also, see how I made the cute daisy wine labels! This shower took place in 2010 - long before the blog idea. I apologize for the lack of step by step pictures. Please contact us for more directions if you have questions at simplysophisticatedblog@gmail.com.
Gerber Daisy Shower Decor
The girls in the wedding and myself made many cute touches to add to the bridal shower. We first decided to make these flower pots and place them all around the house where we held the shower.
We needed the following supplies: floral setting resin (found at your local craft store in the floral section), glue gun, fake flowers, and clear glass pots.
 |
| Difficulty Level: Medium |
First, you will need to cut the flowers down to a shorter length. The shorter the length the better because if they are too tall then they will fall sideways and will not set properly. After you have cut the flowers, stick a dab of hot glue on the bottom of the pot and glue the flower down. This is important because the flower will have a foundation. Once it is dry you can add the floral setting resin. Let the resin set for a day or two and you are set to go.
I must warn you, that this project can be somewhat frustrating if the flowers are not glued down before adding the "fake water." If they are not set properly then they will fall sideways. When setting the flowers put them in a box so you can easily move the box without disturbing the setting flowers.
Advice Cards
At bridal showers it is fun to have guests write down marriage advice for the bride to have. To make these I typed up a quick and easy layout on my computer. I printed them on white card stock. Then, I used metallic card stock as the background. The flower in the middle is a fake flower that I glued on and put a gem in the middle. It was quick and simple!
Gerber Daisy Flower Pens
For directions on how to make flower pens please follow this link.
 |
| Difficulty level: Easy |
Flower Food Labels
I think it is important to label food at parties. These were fun to make and were a perfect detail to add to the shower decor. The bride and groom were getting married at a winery and the wine corks provided a nice detail to the event!
 |
| Difficulty level: Easy |
You will need the following supplies: pre-cut flowers (you can purchase or make them on any die-cut machine), crafting glaze (found in the scrapbook section at your local craft store), card stock paper, markers, Flowersoft -Sunshine Yello (middle of the flower), and wine corks.
First, you will need to cut your flower out of your die-cut machine. I used the Sizzix machine for this project. After you have cut all the flowers, add the glaze to the middle of the flower. Before it dries, add the fluffy middle. Let them dry for a few hours and come back. Once they are dry you can write the name of the dish on the label and cut the corks to slip the label into.
Yummy Cupcakes
For dessert
we served cupcakes, cookies, fruit, and the chocolate fountain. Guests
were treated to an array of dipping choices and they loved it!
The bride is known for her love of cupcakes. Believe it or not, these cupcakes came from Sam's Club. They were tasty and less expensive as local bakeries. We were all treated to the fancy cupcakes at the wedding!
Bridal Shower Games and Prizes
Guests played three games during the shower. We played bridal bingo, create a wedding dress, and the clothes pin game. For the prizes, we bought lottery tickets and inexpensive gifts at the Christmas Tree Shop.
How to play the wedding dress game: the group splits into small groups and uses toilet paper to create a wedding dress they think represents the bride's gown. It is fun! Here are some of the results!
How to play bridal bingo: Guests fill in bingo boxes labeled "BRIDE" of gift they believe the bride will receive. While the bride is opening presents the guests will play bingo.
How to play the clothespin game: Choose a word guests cannot say. If you hear someone say the word, take their clothespin. The person at the end of the party who has the most pins wins!
K.I.S.S.
Sarah
 |
| Prizes |


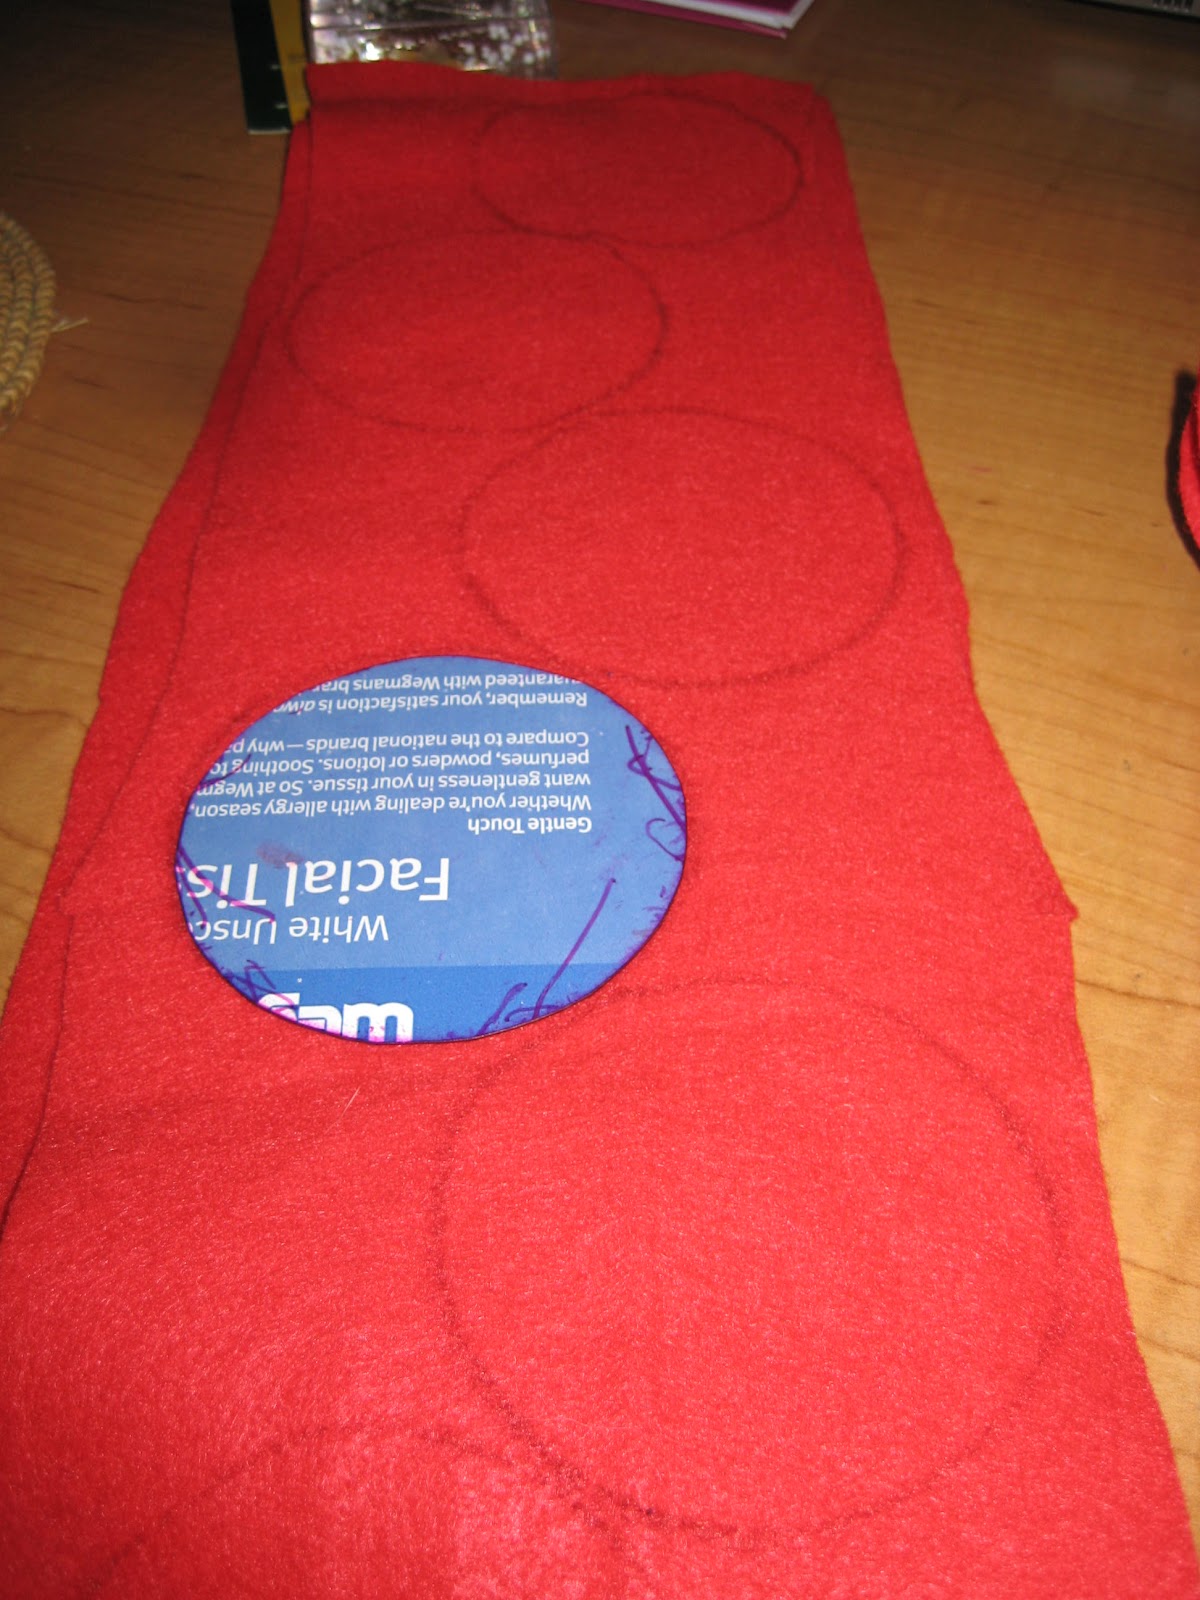
 I cut strips of the fabric and then wrapped them around the wreath. I secured them with pins. After that I made the flowers. I traced circles for the flowers with a ribbon spool. If you need a tutorial on making the flowers please read my post with the Blue Wreath.


